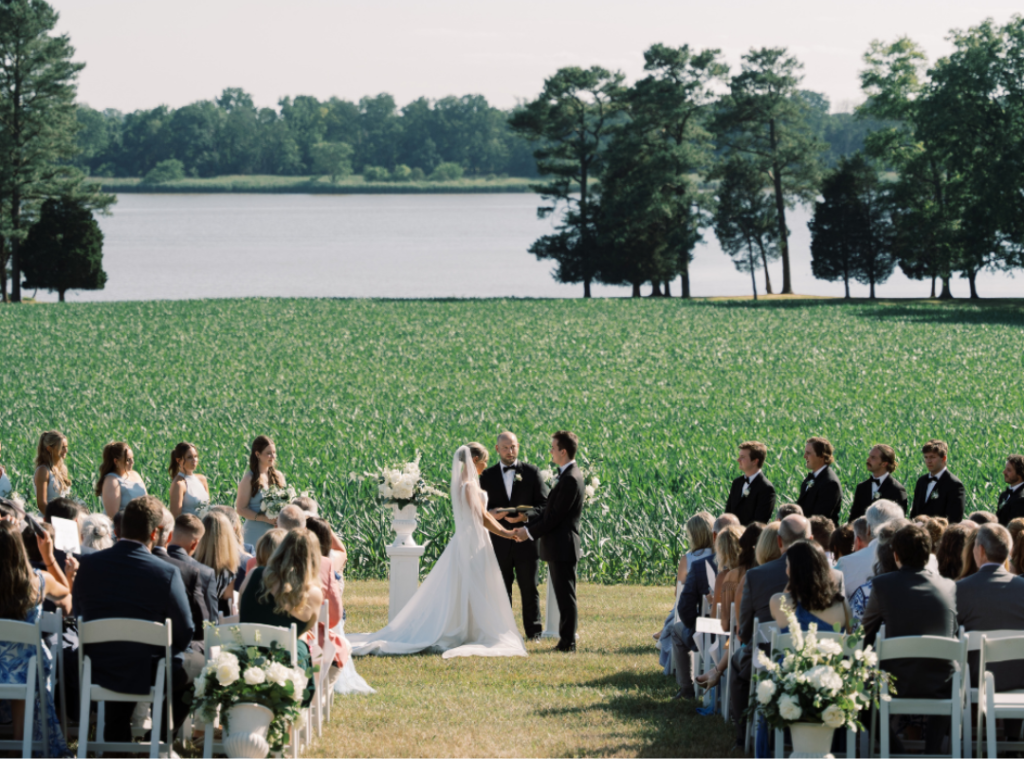
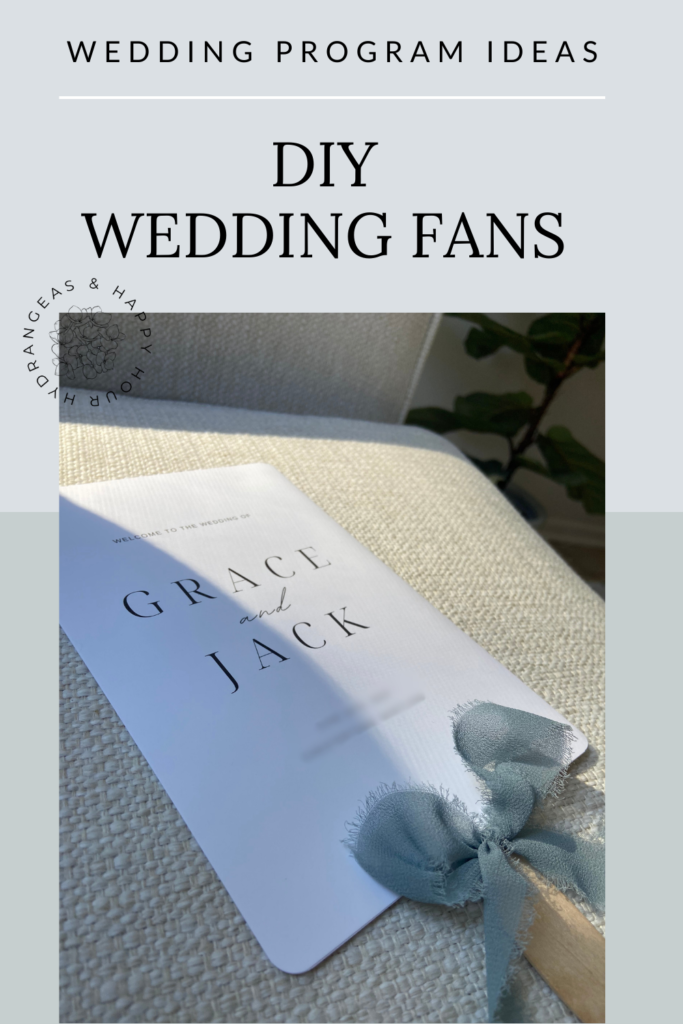
Welcome to our DIY guide on creating your own Wedding Fans which are a great wedding program idea. These practical and personalized fans are perfect for any wedding, especially if you’re tying the knot outdoors or during the warmer months. Not only do they offer your guests a way to beat the heat, but they also add a unique and creative element to your ceremony.
In this blog, we’ll walk you through each step to craft these functional keepsakes, providing a detailed list of supplies you’ll need. Whether you’re new to DIY projects or a seasoned crafter, our guide is designed to help you easily create something special for your big day. Let’s get started on making your wedding program fans!
📌 SAVE FOR LATER ↓
DOWNLOAD A COPY OF OUR WEDDING PLANNING CHECKLIST HERE!
Supplies Needed to Create Wedding Fans
We were able to find everything we needed to make our wedding fans on Amazon and at Michaels.
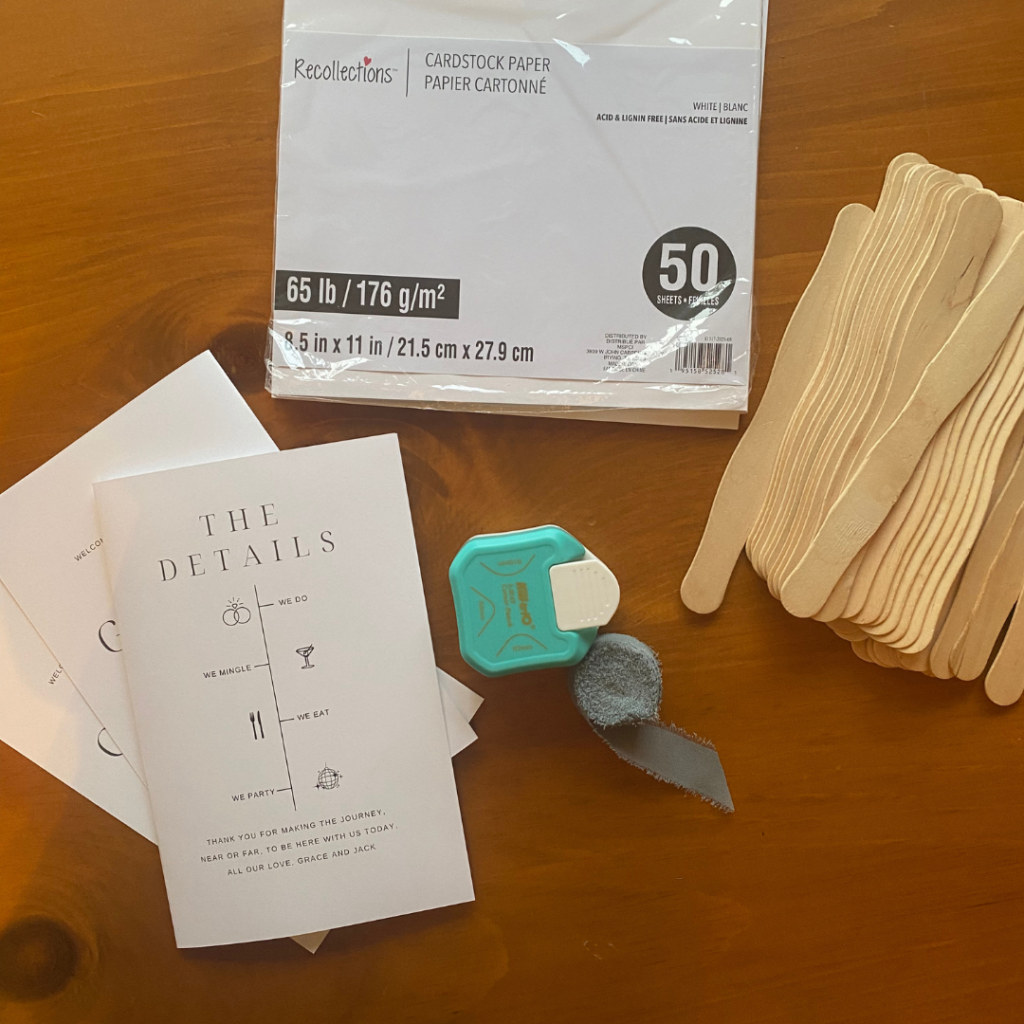
Stock Paper
We used 65 lb weight standard sized (8 1/2 x 11 inches) stock paper. We tested a heavier stock (110 lb) but ran into trouble with our at home printer being able to print on such heavy stock. If you are going to have them printed professionally, you can certainly go heavier to create a more sturdy fan. 65 lb is plenty heavy for this project though.
Choose a color that matches your wedding color palette. There are many colors of stock so be creative if you would like. Or, select white and print a lovely image, black or colored text.
Double Sided Tape
We recommend you purchase a continues double sided tape runner. This makes it so easy to apply the tape and ensures you get every space along the edge secured. You could also use normal double sided tape but it would be more work.
Tip: Look closely at your tape. Some tapes are colored or have a colored adhesive. We purchase one that had a blue tint and we could see the tape lines through the fan. It wasn’t tragic, but if you can use clear, it’s better.
Some tutorials use glue to attach the handle (popsicle stick). We used our tape for this too and it worked great. I think the glue can show through plus it’s one more thing to need.
Popsicle Sticks
The fan handle is made from popsicle sticks. We selected wide “wavy” popsicle sticks we found on Amazon. The worked perfectly and you are able to vary the length of the fan handle because they are long enough.
Corner/Edge Cutter
We wanted to create rounded corners on our fan for a more custom look. We found our edge cutter on Amazon. There are lots of varieties.
Ribbon
Ribbon is optional. We wanted to incorporate some of the ribbon we are using elsewhere in the wedding decor. Select a width or ribbon that you like, ours is about 1 inch wide. But, I like the look over a wider ribbon as well. Get creative and find something you love. When deciding on how much to purchase, figure out how much it takes to make the box or knot you like. We used about 1 foot of ribbon to create a bow.
Designing Your Wedding Fans
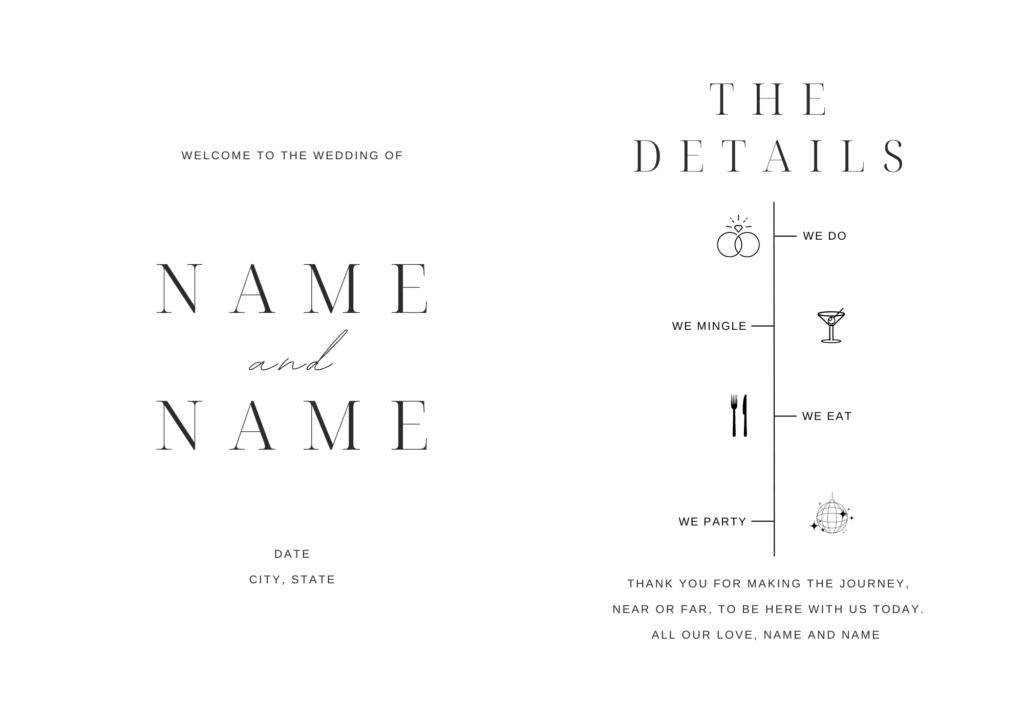
We used Canva to create our wedding program. When creating your wedding fan, keep this in mind:
- Select design size that fits 8 1/2 x 11 paper.
- Create design on landscape setting. So paper size should actually be 11 x 8 1/2 inches.
- Update with your wedding information. Add an image or other design elements (maybe your wedding logo).
- Print (or have printed). Be sure the design is centered on both halves of the paper.
CLICK HERE for a copy of the Canva Template Design for Wedding Fans
Assembling Your Wedding Fans
Step One – Folding the Fan
After printing, fold your paper to create the 2 sided wedding fan. If you use 65 lb paper, you can easily fold the fan and it will look nice without needing to cut or score the paper. If you are using heavier paper, you may want to either cut the paper down the middle to create the two sides or you can gently score the middle line with an x-acto knife or a paper cutter. Truthfully, you can also just fold the heavier paper and it will look fine!
Step Two – Taping the Edges
Use your tape roller to add tape all around the edges of the paper. If you cut the paper in two, you’ll need to tape all four sides. If you are folding the paper (that’s what we did), you only have to add tape to three sides.
Step Three – Tape the Handle (Stick)
Use your tape roller to add tape to both sides of the popsicle stick. Before doing this, decide how long you want your handle and if needed, mark this spot on all of your handles so you have a consistent length from fan to fan.
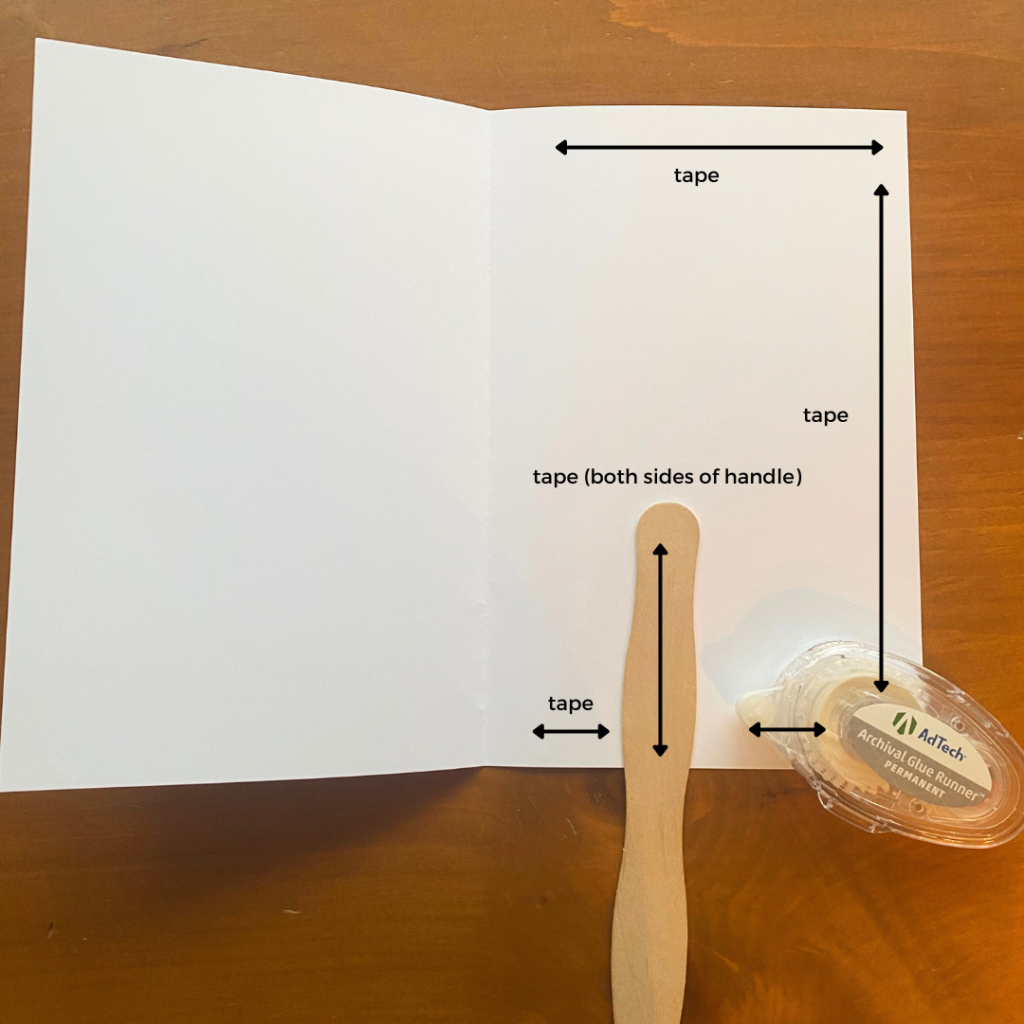
Step 4 – Close the Fan
Once you have applied the tape to all sides and the stick, carefully close the fan. Be sure to press down to ensure all sides, edges and the stick are thoroughly adhered.
The Finish Touches for Your Wedding Fans
Step 5 – Finish the Corners of the Wedding Fans
Using your edge cutter, finish each corner however you like. We used a curved edge on our wedding fans.
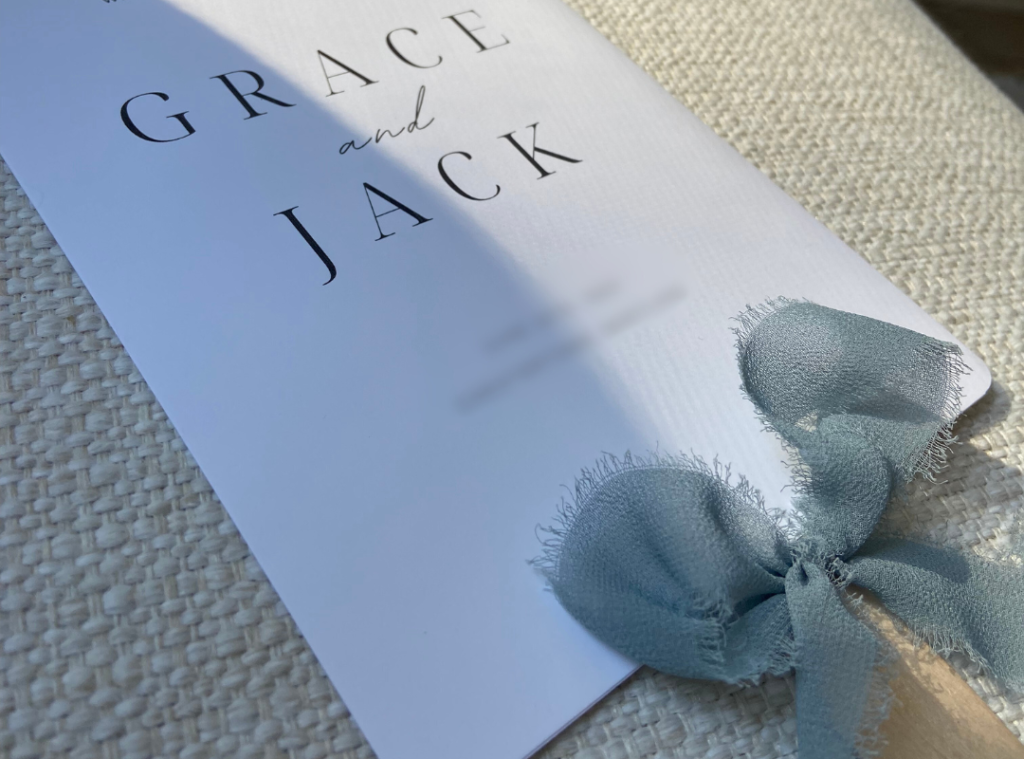
Step 6 – Add the Ribbon to Your Wedding Fan
If you are using ribbon, add the ribbon last. Tie a bow, try a not or whatever you like to adorn your wedding fan.
Conclusion
And there you have it – your very own beautifully crafted Wedding Program Fans! By following these steps, you’ve not only created something that will keep your guests cool and informed but also added a personal touch to your wedding day. These fans are more than just practical items; they’re keepsakes that your guests can keep as a reminder of your wedding day.
We hope you found this DIY guide helpful and that it sparked some creativity in your wedding planning process. Remember, the best part of DIY is the personalization you pour into it. We can’t wait to hear about how your wedding program fans turn out and see how they add that extra special touch to your celebration. Happy wedding planning!
If you like this blog, check out our other helpful wedding planning tips. Start with our Wedding Planning Checklist Blog (a great resource for organizing yourself) or maybe you are creating your invitations, THIS BLOG will help too.
📌 SAVE FOR LATER ↓